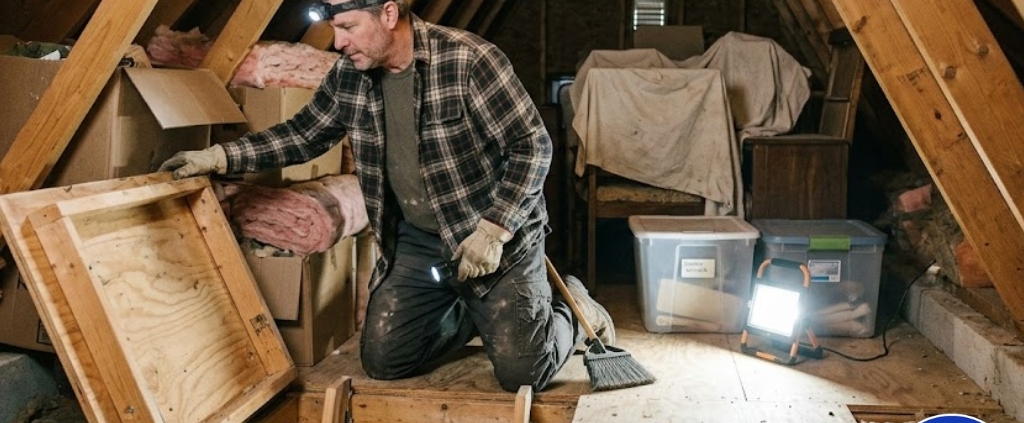
Home inspector examining attic access, insulation, wood framing, and stored items with a headlamp during a professional residential inspection

To prepare for a termite inspection, clear all access points to your crawl space, basement, attic, and exterior foundation. Gather prior treatment records, provide utility keys or codes, secure pets, and keep all inspection areas unobstructed. Most preparation takes 30 to 90 minutes.

For Delaware home sellers and buyers, this preparation prevents “inaccessible area” notes on the NPMA-33 form that can delay closings. This guide walks local homeowners through the documentation and physical steps needed before your Wood Destroying Insect inspector arrives.

You will need utility keys, prior treatment records, clear paths to your crawl space, attic, and garage, and a safe pet plan. Understanding why inspections matter in transactions protects your investment, especially when bundling with a residential home inspection.

Preferred Home Inspections has completed over 10,000 inspections since 1994, serving clients from historic Wilmington to Bear, DE. Follow these steps for a smooth transaction, then schedule your termite or WDI inspection to secure your closing.

Verify Transaction Requirements and Timeline

Are you buying, refinancing, or inspecting for peace of mind? For Delaware real estate transactions, lenders often require the official NPMA-33 Wood Destroying Insect Report, especially for FHA, VA, or HUD loans.

Inspectors only evaluate visible areas. Blocked access gets documented and can delay closing. Because these reports are typically valid for only 30 to 90 days, verify timing to avoid paying for a re-inspection.

Ask your lender:

  1. Is the NPMA-33 required?
  2. Are moisture notes expected?
  3. What is the acceptable date window before closing?

Once confirmed, book your licensed inspector.
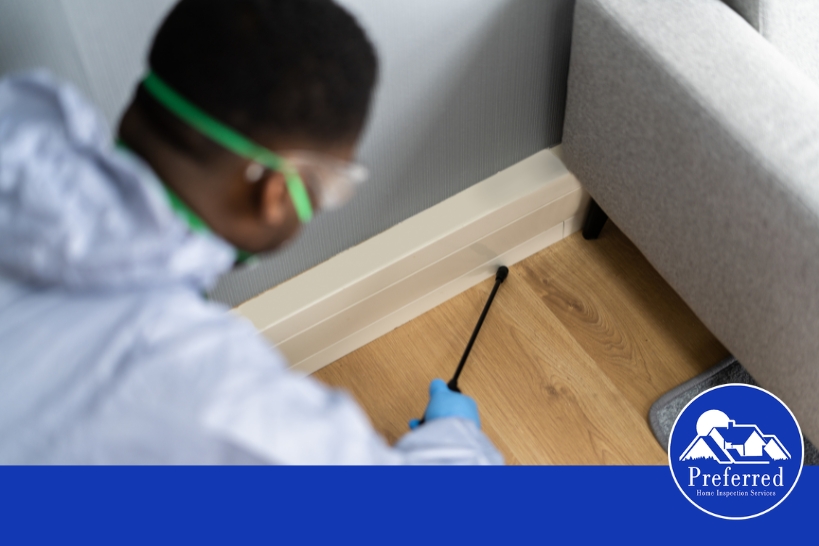
Pest inspector applying treatment along an interior baseboard beside a sofa during a professional home pest inspection and control service

Book a Licensed Delaware WDI Inspector

To prepare for a Delaware termite inspection without closing delays, book a licensed Delaware Wood Destroying Insect inspector. Avoid “free” chemical sales visits. Confirm your inspector holds a Delaware structural pest control license and provides the transaction-ready NPMA-33 form. Ask for their license number upfront.

Schedule this early in your contingency window. Your purchase contract dictates payment responsibility. The inspector needs clear access to the attic, crawl space, basement, garage, and exterior foundation.

Schedule Your Termite Inspection

Organize Your Documentation and Access Plan

Before the inspector arrives, gather records so they do not mistake past damage for active risk.

Compile a folder of:

  • Prior WDI treatments, warranties, and bait system records.
  • Structural repair invoices such as sistered joists or replaced sill plates.
  • Past plumbing leaks, sump issues, or moisture history.

Next, arrange day-of access:

  • Provide keys or codes for gates, garages, and crawl doors.
  • Make sure utilities are on and dark areas are lit.
  • Secure pets away from all inspection zones.
  • Do not paint over suspicious damage or block encapsulated crawl space inspection gaps.

Now, clear physical access.
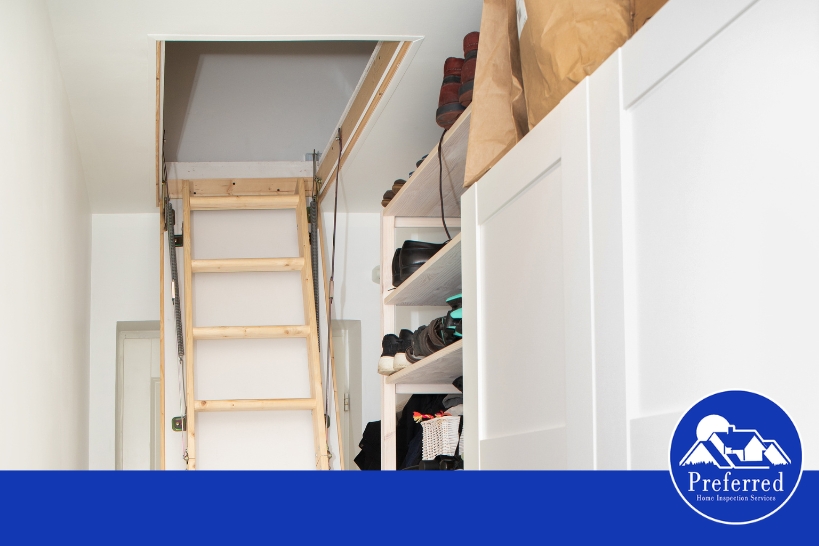
Pull-down attic access ladder inside a closet with storage shelves, inspected during a professional residential home inspection service

Clear Interior Access Points

WDI reports only cover visible areas. Blocked zones appear as “inaccessible” on the report and can delay your transaction. Clear these areas before the inspector arrives:

  • Basements: Move items 2 to 3 feet off exterior walls.
  • Sinks and Utilities: Clear under sinks and around water heaters.
  • Garage and Attic: Unblock shared walls, sill plates, and attic hatches.

Moisture meters and thermal imaging can flag anomalies, but inspectors still need physical access to probe the wood. The goal is a clear indoor perimeter path that reaches all moisture-prone areas unimpeded.

Prepare Your Specific Foundation Type

WARNING: Never enter unsafe crawl spaces. Clear the path, but let the professional assess entry safety.

Delaware homes typically feature crawl spaces, basements, or slabs. Here is how to prepare each for a WDI inspection:

  • Crawl Spaces: Clear the hatch. Keep 18 inches of vertical clearance. Do not block encapsulated inspection gaps, and note standing water or loose wiring.
  • Basements: Move storage away from rim joists and sill plates. Unblock sump pits and dehumidifier lines.
  • Slabs: Clear perimeter baseboards so interior walls stay visible.

Next, prepare the exterior foundation perimeter.

Clear the Exterior Foundation Perimeter

Sellers often skip exterior prep, triggering “conducive conditions” flags on the report. Clear all perimeter obstructions before the inspector arrives.

  • Mulch and Soil: Pull mulch back to eliminate wood-to-soil contact.
  • Storage: Move firewood, lumber, and cardboard away from the foundation.
  • Vegetation: Trim shrubs and vines to expose the foundation line.
  • Drainage: Make sure downspouts divert water away from the walls.

Check deck posts and fences. Do not hide issues; make evidence visible so the report reflects reality.

Success Criteria: The inspector can walk the perimeter and see all foundation-to-siding transition points.

Pro Tips: How to Prepare for a Termite Inspection

  • Confirm NPMA-33 Delivery: Make sure your inspector issues this official form. This protects you from predatory companies holding your report hostage until you buy unnecessary treatments.
  • Watch the Lender Window: Align the visit with your bank’s 30 to 90 day window to avoid paying for a repeat inspection if closing stalls.
  • Create an Access Guide: Leave a note detailing crawlspace hatches and keys so the inspector does not flag inaccessible areas.
  • Dry Out Crawlspaces: Run a dehumidifier for 48 hours prior. Damp wood triggers “conducive conditions” warnings that delay mortgage underwriting.
  • Bundle Your Services: Save time by pairing this with a residential home inspection.

Call (302) 475-4437

Wood Destroying Insect Inspection FAQs

Do I need a WDI or termite inspection to sell a house in Delaware?

It depends on the loan type, lender, and purchase contract. FHA, VA, and HUD loans usually require an official NPMA-33 report. Confirm these requirements with your lender or real estate agent early to avoid closing delays.

What should I expect during a WDI inspection?

Expect a thorough visual exam of all visible, accessible areas. Your inspector will focus on the interior perimeter, foundation, crawl space, basement, garage, and exterior. Probing tools, moisture meters, and sometimes thermal imaging are used to find hidden activity.

How long is a WDI or NPMA-33 report valid?

Most lenders accept WDI reports for 30 to 90 days. Verify this timeframe with your lender. If your closing is delayed or treatment is completed, you will likely need a professional re-inspection.

Who pays for the termite inspection and treatment, buyer or seller?

This is negotiated in your purchase contract. Local customs vary, but both parties must document who orders and pays for the inspection and any subsequent treatments.

What happens if the report shows termites or wood damage?

Do not panic. Clarify whether the report indicates active infestation, old damage, or conducive conditions. Then gather treatment quotes, evaluate repairs, and negotiate credits. Understanding why inspections matter helps you put findings in proper context.

Can I perform a termite inspection myself?

You can prepare the home’s physical access, but official transactions require a licensed professional to sign the NPMA-33 form. Schedule your inspection with Preferred Home Inspections or visit our Bear, DE termite inspection page for service details.

Ready to get started? Call (302) 475-4437 or schedule online.

Schedule Online

What home inspections check

Is a maintenance inspection basically a buyer’s inspection for homeowners, or is it something different? Most homeowners do not know what is actually included, and that knowledge gap carries real risk. When minor roof leaks, electrical issues, or foundation settling go unnoticed, those hidden defects quickly become budget-breaking repairs.

This guide answers that question directly. You will find a system-by-system checklist of what gets inspected, where standard boundaries end, when to schedule specialized add-on testing, and how to prioritize your final report to keep your home safe.

Read on for what a professional maintenance inspection is actually designed to do.


Home inspection document held in front with house in background

What Happens During a Home Maintenance Inspection?

Imagine catching a faint, musty smell in your basement or noticing a guest bathroom sink draining slowly. Instead of calling expensive specialty contractors, a preventive checkup offers an unbiased, non-alarmist evaluation.

Knowing what to expect during a home inspection helps you prepare. The process is a visual, non-invasive assessment of accessible areas, focusing on safety and material defects. The inspector explains findings in real time and documents issues with photos, examining:

  • Exterior elements: Siding, grading, gutters, and roofline.
  • Interior systems: Electrical outlets, plumbing fixtures, and heating and cooling units.
  • Attic, crawlspace, and basement cavities.

To prepare, confirm all utilities are on and that you have cleared access to your electrical panel, attic hatch, and water heater. Schedule a maintenance checkup every few years, or sooner if you have aging systems, recurring moisture issues, or severe storm damage.


Your Home Maintenance Inspection Checklist: System by System

Data shows most major home repair surprises come from a handful of primary systems: roofing, water, electrical, and HVAC. To identify these risks systematically, professional inspectors evaluate your home’s core components and report visible material defects and safety hazards before they escalate.

The assessment covers:

  • Roof: Shingles, flashing, visible damage, and signs of active leaks from the attic side.
  • Exterior: Siding, grading, drainage, visible penetrations, and deck or stair safety.
  • Basement and Foundation: Structural cracking, wall movement, moisture staining, and support post stability.
  • Heating: Safe unit operation, venting issues, and routine maintenance red flags.
  • Cooling: Basic system operation when weather permits, condensate drainage, and exterior wear.
  • Plumbing: Visible supply and drain piping, fixture function, slow leaks, and water heater condition.
  • Electrical: Main panel safety, visible wiring hazards, GFCI or AFCI presence, and open junction boxes.
  • Fireplace: Visible firebox cracking and damper function (this is not a chimney scan).
  • Attic and Insulation: Insulation depth, proper ventilation pathways, and signs of moisture or mold-like growth.
  • Interior and Openings: Door and window operation, wall moisture stains, and safety detector presence.

This checklist covers critical structural and mechanical components, but the evaluation stays non-invasive. Understanding what falls outside an inspector’s physical reach helps manage expectations heading into the visit.


An adult man with dark hair stands inside a building under construction. He is wearing safety glasses, a blue button-up shirt, and dark work pants with multiple pockets. Holding a blue clipboard and pencil, he looks to the side while inspecting the site. Sunlight streams through a nearby window, illuminating the unfinished interior and staircase. This image is ideal for representing construction, engineering, building inspections, workplace safety, and industrial projects.

What a Home Maintenance Inspection Does Not Cover

A thorough inspection can still miss significant problems if they are concealed or require specialized testing. Professional maintenance evaluations are strictly non-invasive. Inspectors examine accessible structural elements and home systems, but will not tear open drywall, dismantle HVAC units, or dig up underground lines.

While a homeowner’s DIY checklist focuses on changing filters and cleaning gutters, a professional evaluation identifies subtle warning signs of structural movement, hazardous wiring configurations, and hidden moisture patterns.

To bridge these coverage gaps, consider specialized testing based on your property’s age and known risk factors:

  • Radon Testing ($130): A critical health screening for this invisible, odorless soil gas.
  • Termite/WDI Inspection (Starting at $95): Identifies active wood-destroying pest activity and structural damage.
  • Sewer Scope: Recommended for older homes with mature trees near the main lateral line.
  • Mold and Moisture Diagnostics: Necessary when facing persistent musty odors or staining.

If you are currently buying or selling, a residential home inspection remains your best option for a full transaction-ready report.

Schedule Your Inspection

How to Prioritize What Your Inspection Report Finds

Imagine opening your report to find a slow plumbing drip, a missing kitchen GFCI outlet, and an overflowing gutter. Which requires immediate attention, and which can wait?

Sort your findings into this four-tier framework:

  • Priority 1: Safety Now. Immediate hazards like active electrical risks, combustion venting issues, or loose stair railings.
  • Priority 2: Active Damage. Time-sensitive issues like moisture intrusion, soil grading problems, or failing roof flashing that will cause rot if ignored.
  • Priority 3: Preventive Maintenance. Important mid-term tasks like HVAC servicing or water heater end-of-life planning.
  • Priority 4: Monitor/Cosmetic. Minor hairline concrete cracks or peeling trim paint.

In Delaware and Southeastern Pennsylvania, local climate shapes these priorities. High summer humidity and heavy rainfall require immediate crawlspace moisture control and proper gutter drainage to protect foundations. Winter freeze-thaw cycles make exterior caulking and unconditioned pipe protection critical. In historic pockets of Wilmington and Chadds Ford, older electrical components and aging roofs need extra scrutiny.

Addressing a $150 gutter problem now prevents a $5,000 foundation repair later. Use your findings to build a 12-month repair plan and a 5-year budget. A seasoned local inspector can spot patterns common to homes in this region.


Turn Your Maintenance Inspection Into a Repair Plan

Knowing what a home maintenance inspection covers helps you protect your largest asset. Use this checklist to turn your report into an actionable preservation plan:

  1. Establish a baseline: Use the visual inspection to get an objective snapshot of your major structural and mechanical systems.
  2. Identify testing gaps: Standard reviews are non-invasive. Schedule specialized add-ons like radon or termite testing to address hidden hazards.
  3. Prioritize the findings: Group issues by urgent safety risks, active moisture damage, and deferred maintenance.
  4. Structure your finances: Create a 12-month immediate repair plan alongside a long-term capital replacement budget.
  5. Determine future cadence: Re-evaluate your home every three to five years, or immediately following severe storm events.

Ready to baseline your home’s health? Contact Preferred Home Inspections today to schedule your evaluation.

Book Your Home Maintenance Inspection

Frequently Asked Questions About Home Maintenance Inspections

Is a home maintenance inspection the same as a buyer’s home inspection?

No, they serve different purposes. A buyer’s inspection evaluates a property’s condition for real estate transaction negotiations. A maintenance inspection is a preventive health checkup for current homeowners to plan future upkeep. Both evaluate the same core systems, but the homeowner context focuses on long-term preservation.

Can I use a home maintenance inspection checklist and skip the professional inspection?

You can use DIY checklists for seasonal upkeep like cleaning gutters, but they cannot replace a professional evaluation. Professional inspectors identify safety and material-defect patterns that homeowners miss. Local experts at Preferred Home Inspections use specialized tools to detect hidden electrical risks and structural settling.

How long does a home maintenance inspection take?

A home maintenance inspection typically takes between two and three hours. The exact duration depends on your home’s square footage, age, and the accessibility of key areas like attics or crawlspaces. It also depends on how many specific concerns you want to walk through with the inspector.

What is not included in a routine home inspection checklist?

Standard inspections exclude invasive testing, underground systems, and cosmetic issues. Inspectors will not dismantle HVAC systems or open drywall. Standard checklists also omit specialty assessments like radon or termite testing.

What should I do if my inspection report feels like a long to-do list?

Do not panic. Every inspection report contains multiple findings. Prioritize the list by starting with immediate safety hazards, followed by active water damage, and finally preventive tasks. Ask your inspector to clearly distinguish between what needs fixing now versus what you can simply monitor.