To prepare for a termite inspection, clear all access points to your crawl space, basement, attic, and exterior foundation. Gather prior treatment records, provide utility keys or codes, secure pets, and keep all inspection areas unobstructed. Most preparation takes 30 to 90 minutes.
For Delaware home sellers and buyers, this preparation prevents “inaccessible area” notes on the NPMA-33 form that can delay closings. This guide walks local homeowners through the documentation and physical steps needed before your Wood Destroying Insect inspector arrives.
You will need utility keys, prior treatment records, clear paths to your crawl space, attic, and garage, and a safe pet plan. Understanding why inspections matter in transactions protects your investment, especially when bundling with a residential home inspection.
Preferred Home Inspections has completed over 10,000 inspections since 1994, serving clients from historic Wilmington to Bear, DE. Follow these steps for a smooth transaction, then schedule your termite or WDI inspection to secure your closing.
Verify Transaction Requirements and Timeline
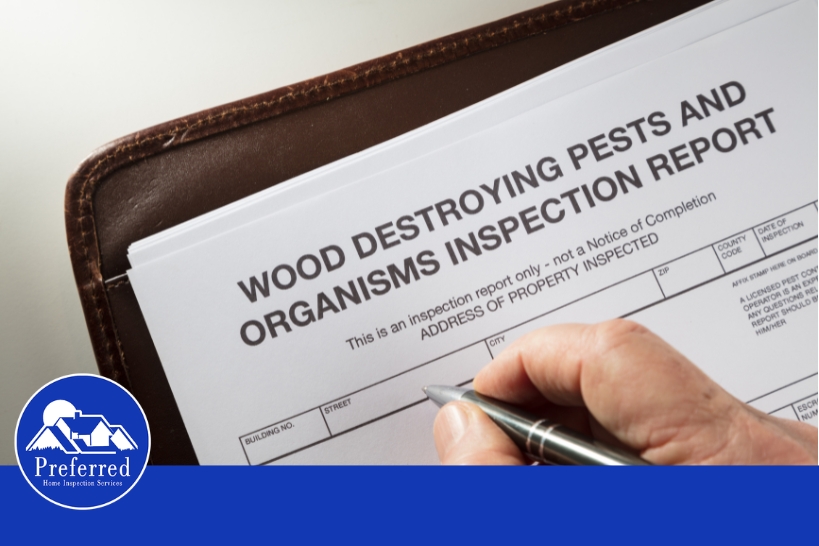
Are you buying, refinancing, or inspecting for peace of mind? For Delaware real estate transactions, lenders often require the official NPMA-33 Wood Destroying Insect Report, especially for FHA, VA, or HUD loans.
Inspectors only evaluate visible areas. Blocked access gets documented and can delay closing. Because these reports are typically valid for only 30 to 90 days, verify timing to avoid paying for a re-inspection.
Ask your lender:
- Is the NPMA-33 required?
- Are moisture notes expected?
- What is the acceptable date window before closing?
Once confirmed, book your licensed inspector.
Book a Licensed Delaware WDI Inspector
To prepare for a Delaware termite inspection without closing delays, book a licensed Delaware Wood Destroying Insect inspector. Avoid “free” chemical sales visits. Confirm your inspector holds a Delaware structural pest control license and provides the transaction-ready NPMA-33 form. Ask for their license number upfront.
Schedule this early in your contingency window. Your purchase contract dictates payment responsibility. The inspector needs clear access to the attic, crawl space, basement, garage, and exterior foundation.
Schedule Your Termite Inspection
Organize Your Documentation and Access Plan
Before the inspector arrives, gather records so they do not mistake past damage for active risk.
Compile a folder of:
- Prior WDI treatments, warranties, and bait system records.
- Structural repair invoices such as sistered joists or replaced sill plates.
- Past plumbing leaks, sump issues, or moisture history.
Next, arrange day-of access:
- Provide keys or codes for gates, garages, and crawl doors.
- Make sure utilities are on and dark areas are lit.
- Secure pets away from all inspection zones.
- Do not paint over suspicious damage or block encapsulated crawl space inspection gaps.
Now, clear physical access.

Clear Interior Access Points
WDI reports only cover visible areas. Blocked zones appear as “inaccessible” on the report and can delay your transaction. Clear these areas before the inspector arrives:
- Basements: Move items 2 to 3 feet off exterior walls.
- Sinks and Utilities: Clear under sinks and around water heaters.
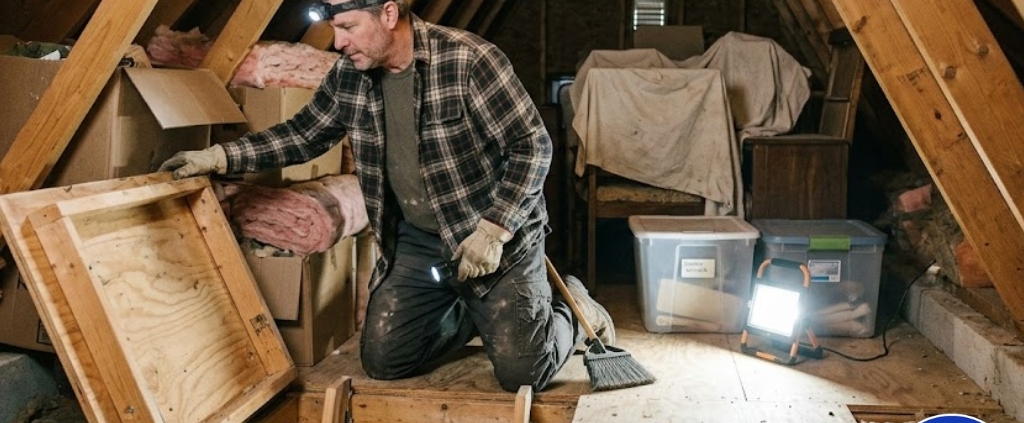
- Garage and Attic: Unblock shared walls, sill plates, and attic hatches.
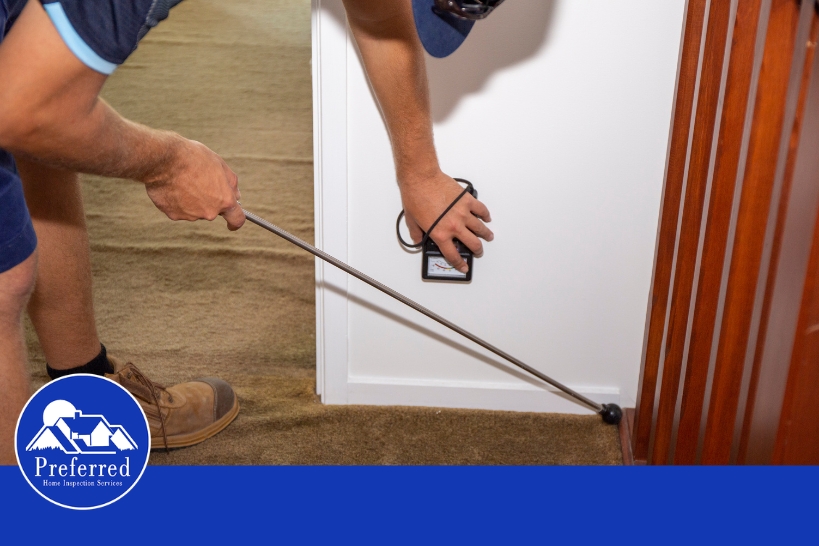
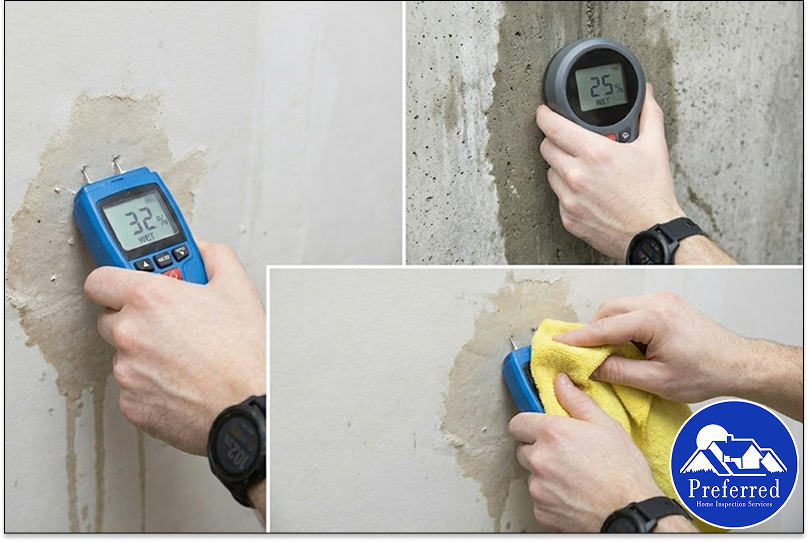
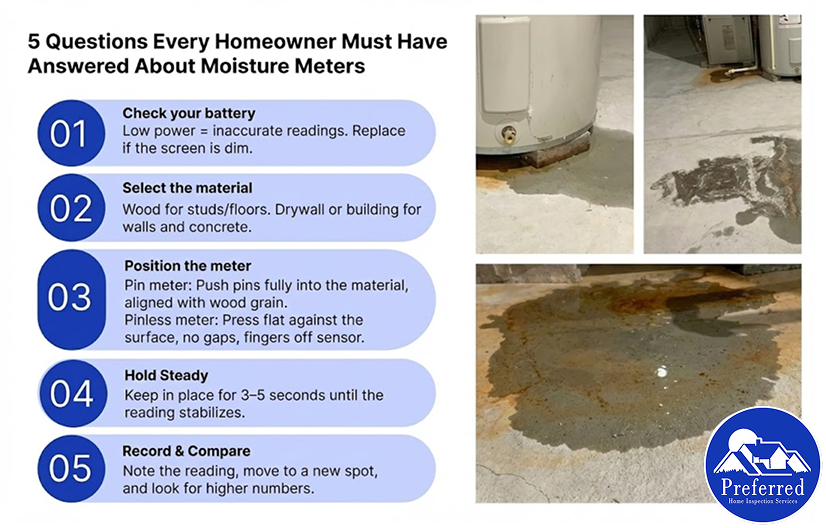
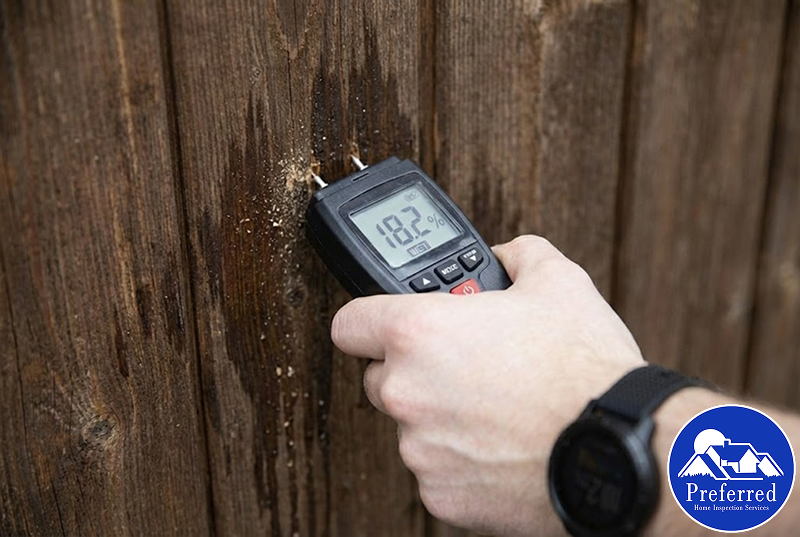
Moisture meters and thermal imaging can flag anomalies, but inspectors still need physical access to probe the wood. The goal is a clear indoor perimeter path that reaches all moisture-prone areas unimpeded.
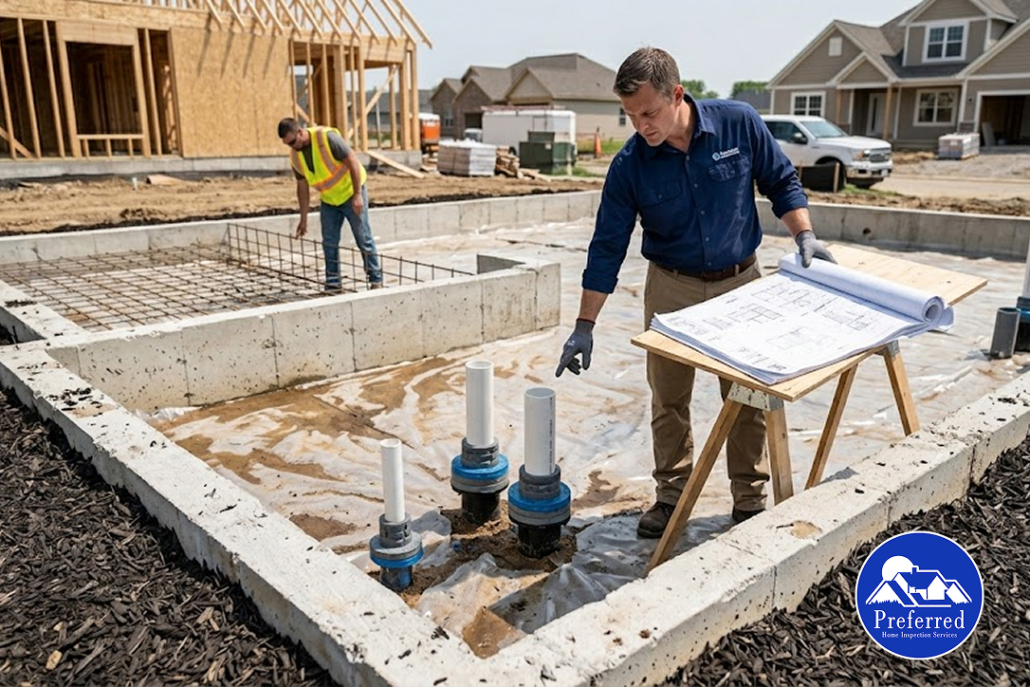
Prepare Your Specific Foundation Type
WARNING: Never enter unsafe crawl spaces. Clear the path, but let the professional assess entry safety.
Delaware homes typically feature crawl spaces, basements, or slabs. Here is how to prepare each for a WDI inspection:
- Crawl Spaces: Clear the hatch. Keep 18 inches of vertical clearance. Do not block encapsulated inspection gaps, and note standing water or loose wiring.
- Basements: Move storage away from rim joists and sill plates. Unblock sump pits and dehumidifier lines.
- Slabs: Clear perimeter baseboards so interior walls stay visible.
Next, prepare the exterior foundation perimeter.
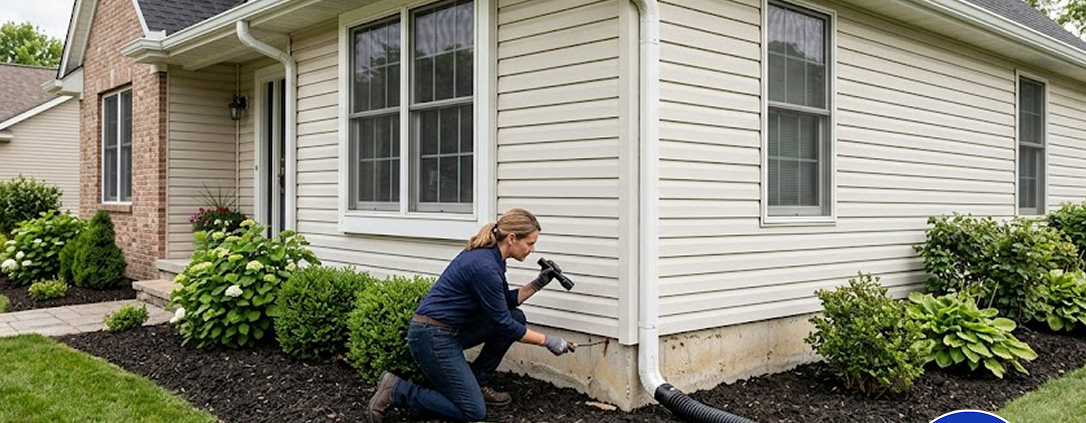
Clear the Exterior Foundation Perimeter
Sellers often skip exterior prep, triggering “conducive conditions” flags on the report. Clear all perimeter obstructions before the inspector arrives.
- Mulch and Soil: Pull mulch back to eliminate wood-to-soil contact.
- Storage: Move firewood, lumber, and cardboard away from the foundation.
- Vegetation: Trim shrubs and vines to expose the foundation line.
- Drainage: Make sure downspouts divert water away from the walls.
Check deck posts and fences. Do not hide issues; make evidence visible so the report reflects reality.
Success Criteria: The inspector can walk the perimeter and see all foundation-to-siding transition points.
Pro Tips: How to Prepare for a Termite Inspection
- Confirm NPMA-33 Delivery: Make sure your inspector issues this official form. This protects you from predatory companies holding your report hostage until you buy unnecessary treatments.
- Watch the Lender Window: Align the visit with your bank’s 30 to 90 day window to avoid paying for a repeat inspection if closing stalls.
- Create an Access Guide: Leave a note detailing crawlspace hatches and keys so the inspector does not flag inaccessible areas.
- Dry Out Crawlspaces: Run a dehumidifier for 48 hours prior. Damp wood triggers “conducive conditions” warnings that delay mortgage underwriting.
- Bundle Your Services: Save time by pairing this with a residential home inspection.
Wood Destroying Insect Inspection FAQs
Do I need a WDI or termite inspection to sell a house in Delaware?
It depends on the loan type, lender, and purchase contract. FHA, VA, and HUD loans usually require an official NPMA-33 report. Confirm these requirements with your lender or real estate agent early to avoid closing delays.
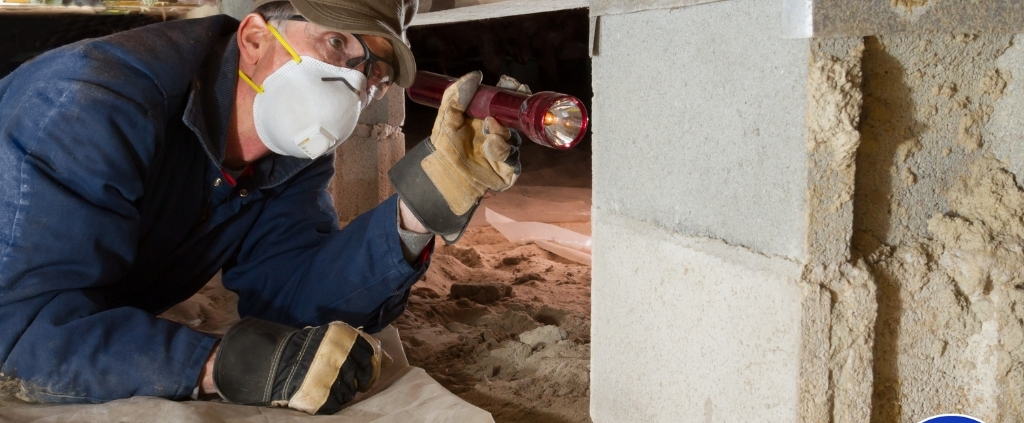
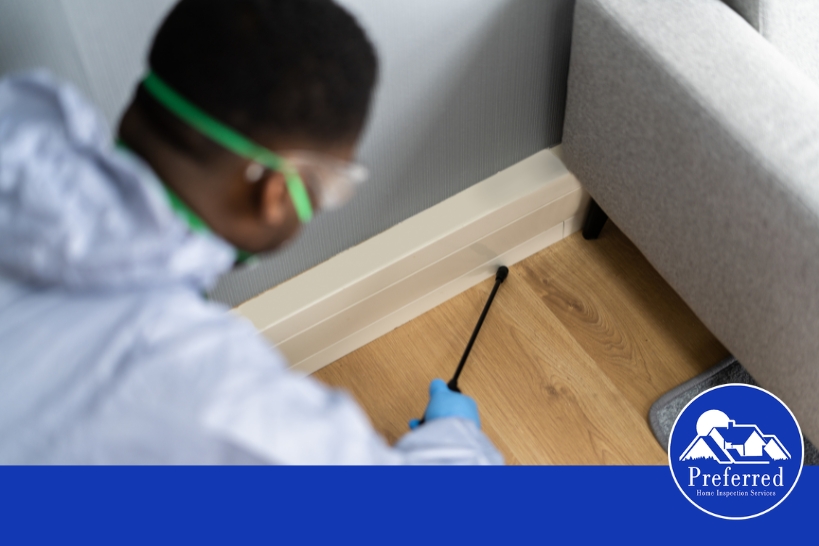
What should I expect during a WDI inspection?
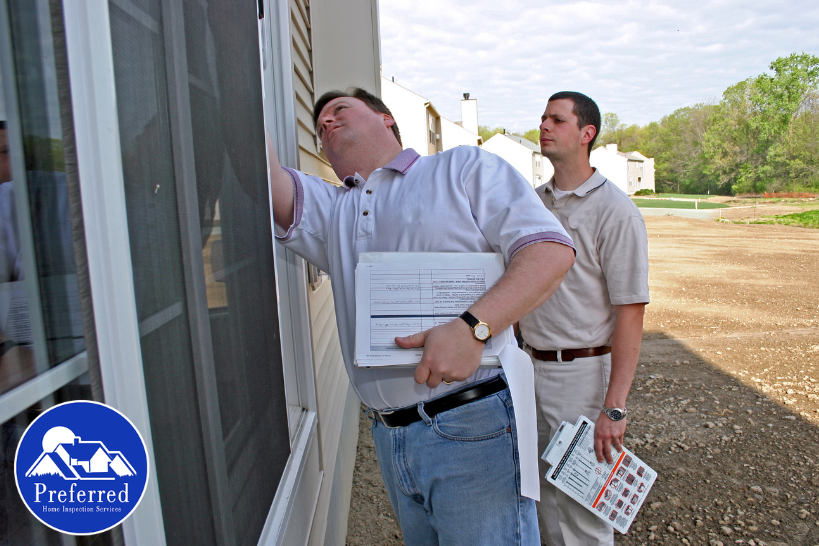
Expect a thorough visual exam of all visible, accessible areas. Your inspector will focus on the interior perimeter, foundation, crawl space, basement, garage, and exterior. Probing tools, moisture meters, and sometimes thermal imaging are used to find hidden activity.
How long is a WDI or NPMA-33 report valid?
Most lenders accept WDI reports for 30 to 90 days. Verify this timeframe with your lender. If your closing is delayed or treatment is completed, you will likely need a professional re-inspection.
Who pays for the termite inspection and treatment, buyer or seller?
This is negotiated in your purchase contract. Local customs vary, but both parties must document who orders and pays for the inspection and any subsequent treatments.
What happens if the report shows termites or wood damage?
Do not panic. Clarify whether the report indicates active infestation, old damage, or conducive conditions. Then gather treatment quotes, evaluate repairs, and negotiate credits. Understanding why inspections matter helps you put findings in proper context.
Can I perform a termite inspection myself?
You can prepare the home’s physical access, but official transactions require a licensed professional to sign the NPMA-33 form. Schedule your inspection with Preferred Home Inspections or visit our Bear, DE termite inspection page for service details.
Ready to get started? Call (302) 475-4437 or schedule online.